

Introduction
Reducing food waste and enriching your garden’s soil can both begin with a simple kitchen composting system. Composting turns vegetable scraps, coffee grounds, and other organic materials into nutrient-rich “black gold” that feeds plants and cuts down on landfill contributions. In this guide, we’ll walk you through every step—from choosing the right bin to maintaining the balance of greens and browns—so you can start composting easily and effectively right in your kitchen.
1. Choose Your Composting Method
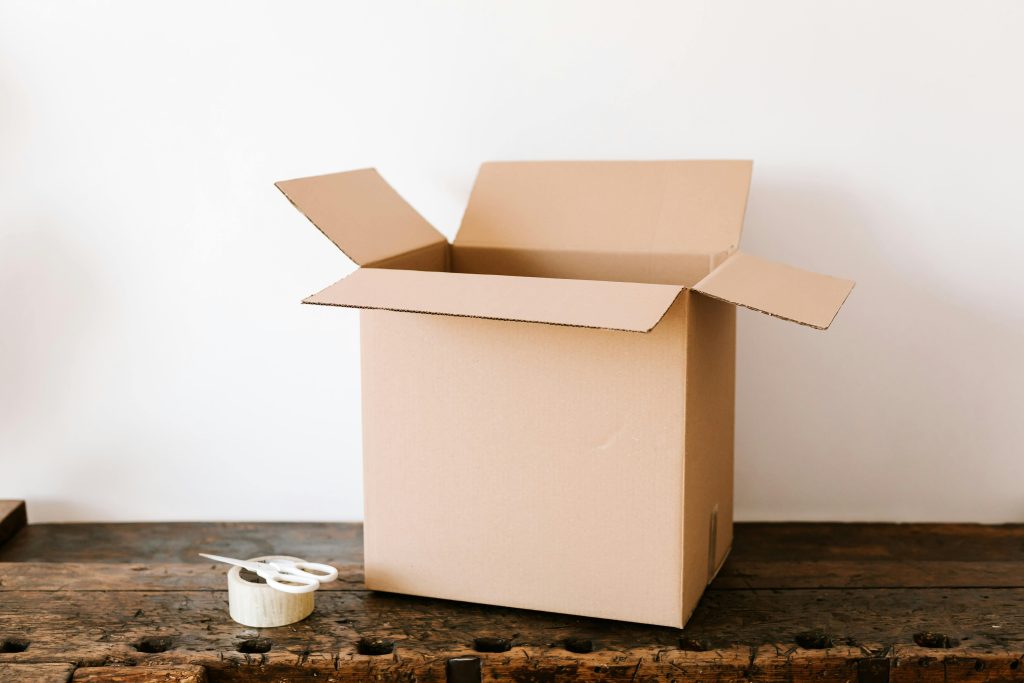
1.1 Countertop Compost Bin
- What It Is: A small container—typically 1–5 quarts—designed to sit on your countertop.
- Ideal For: Beginners or those with limited space.
- Materials: Stainless steel or plastic with an airtight lid and carbon filter to control odors.
- How It Works: Collect your fruit and vegetable scraps, coffee grounds, and eggshells throughout the day. When the bin is full (or every few days), empty it into your main compost pile, worm bin, or municipal collection.

1.2 Under-Sink or Cabinet Bin
- What It Is: A slightly larger container that fits under the sink or in a kitchen cabinet.
- Ideal For: Households that generate more scraps but still want an in-kitchen solution.
- Features: Slide-out drawer or pedal-operated lid, built-in filters, removable inner bucket for easy cleaning.
- How It Works: Similar to a countertop bin, but with more capacity—empty into your outdoor compost system every week.
1.3 Worm (Vermicomposting) Bin
- What It Is: A specialized bin that uses red wiggler worms to convert food scraps into castings (worm poop).
- Ideal For: Apartment dwellers or anyone who wants faster composting and liquid “worm tea” for plants.
- Setup Requirements: A plastic or wooden bin with air holes, bedding (shredded newspaper or coconut coir), and a starting population of red wiggler worms.
- How It Works: Feed worms small amounts of kitchen scraps (no meat, dairy, or oily foods). The worms eat the scraps, producing castings. Harvest castings every few months and use as fertilizer.
2. Select the Right Location and Container
2.1 Placement Considerations
- Accessibility: You want the bin within easy reach—ideally within a few steps of your prep area—so you’re more likely to use it.
- Ventilation: If you choose a cabinet or under-sink bin, make sure the area isn’t completely sealed off. Proper airflow helps minimize odors.
- Sunlight (for Worm Bins): If you’re using an indoor worm bin, keep it in a room-temperature area (55–75°F). Avoid direct sunlight, which can overheat worms.
2.2 Container Features
- Airtight Lid with Carbon Filter: Prevents fruit fly attraction and traps odors.
- Easy-to-Clean Interior: Removable inner bucket or liner makes emptying and washing simple.
- Size: A 2–3 gallon container suits a couple; if you cook a lot or have a family of four, consider 5 gallons.
- Material: Plastic bins are affordable and lightweight; stainless steel is odor-resistant and durable.
3. Gather Necessary Supplies
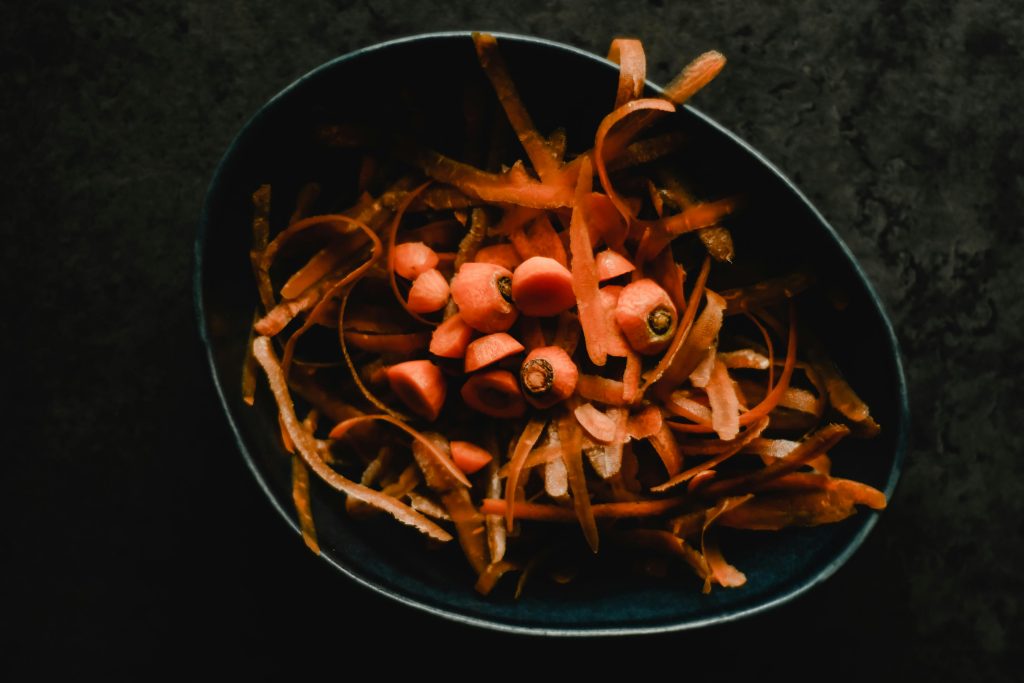
- Kitchen Scraps “Compostables”
- Greens (Nitrogen-rich): Fruit and vegetable peels, coffee grounds and filters, tea bags, fresh grass clippings (dry before indoors), plant trimmings.
- Browns (Carbon-rich): Dry leaves, paper towels (unbleached), shredded newspaper or cardboard, sawdust (from untreated wood), paper egg cartons, coir (coconut fiber).
- Container Liners (Optional)
- Biodegradable Liners: Paper liners or compostable bags can make emptying quick and reduce mess. Avoid plastic bags—those aren’t compostable.
- Bokashi Starter (Optional Pre-Treatment)
- For odors and kitchen bins, a Bokashi anaerobic fermentation system can pre-ferment scraps before adding to a compost pile or worm bin. Bokashi starter (bran inoculated with beneficial microbes) is sprinkled on the scraps in a sealed bucket, which then can be buried or added to a pile once the fermenting is complete.
- Worms and Bedding (Vermicomposting Only)
- Red Wiggler Worms (Eisenia fetida): About one pound of worms per square foot of bin surface is a good starting ratio.
- Bedding Material: Shredded newspaper, cardboard, or coconut coir moistened to the consistency of a wrung-out sponge.
4. Build the Compost Base and Maintain the Right Balance
4.1 Start with a Base Layer
- Bag of Browns or Bedding (for worm bins):
- Add a 2–3 inch layer of shredded paper or dry leaves to the bottom of your bin to help air circulate and absorb excess moisture.
- If using a worm bin, mix bedding with damp coir or shredded newspaper until it feels like a moist sponge.
4.2 Maintain Greens-to-Browns Ratio
- Aim for 1:2 or 1:3 (Greens : Browns)
- For every cup of fruit and veggie scraps, add 2–3 cups of dry brown material. This mix ensures proper carbon-to-nitrogen balance, prevents foul odors, and speeds decomposition.
4.3 Layering Technique
- Add Scraps (Greens): Place your kitchen scraps—fruit peels, coffee grounds, etc.—into the bin.
- Cover with Browns: Immediately top with shredded leaves, newspaper, or paper towel. Aim for at least twice as much brown volume as green.
- Stir or Mix (Non-Vermicompost Bins): Every few days (or when you add new material), give the mix a gentle stir or turn with a small hand trowel to introduce air.
4.4 Monitor Moisture
- Ideal Moisture Level: Similar to a damp sponge—moist but not dripping.
- If Too Wet: Add more dry browns—paper shreds or dried leaves.
- If Too Dry: Mist lightly with water or add a handful of fresh vegetable scraps to boost moisture.
5. Manage Your Compost System Over Time
5.1 Emptying and Transferring
- Frequency: Depending on bin size and usage, empty every 3–10 days into your outdoor compost pile, tumbler, or worm bin.
- Technique:
- Open the bin near your compost destination—avoid spills.
- Toss in the entire contents, then cover with an additional 2–3 inch layer of browns.
- Rinse or wash the kitchen bin with warm, soapy water (some people keep a separate scrub brush for this).
5.2 Inspect for Pests and Odors
- Fruit Flies: To minimize, always cover fresh scraps with at least a thin layer of browns. Ensure your bin has a tight lid and carbon filter if possible.
- Odors: A well-balanced carbon-to-nitrogen ratio and proper aeration should prevent smells. If you detect sour or ammonia-like odors, it means too many greens or insufficient airflow—add more browns and stir.
5.3 Harvesting Compost (Worm Bins)
- When to Harvest: After 2–4 months, worm castings (dark, crumbly soil-like material) accumulate.
- Harvesting Method:
- Push finished compost to one side of the bin.
- Add fresh bedding and food to the empty side—worms will migrate.
- After a week or two, remove the compost from the original side, leaving most worms behind.
6. Troubleshooting Common Issues
6.1 Bin Too Dry or Too Wet
- Too Dry: Food scraps won’t decompose efficiently. Solution: Lightly mist with water every few days or add higher-moisture greens (e.g., watermelon rinds).
- Too Wet: Causes anaerobic decomposition and odors. Solution: Add shredded cardboard, paper towels, or dried leaves. Ensure drainage holes (if an outdoor bin) aren’t clogged.
6.2 Foul Smell
- Likely Cause: Excessive greens or lack of oxygen.
- Fix: Stir the pile to introduce air and add more browns to restore balance. In a worm bin, double-check that bedding remains fluffy and not compacted.
6.3 Fruit Fly Infestation
- Likely Cause: Open scraps or exposed food attracts flies.
- Fix: Always bury food under several inches of brown material. Consider using a bin with a sealed lid and charcoal filter. For severe infestations, freeze vegetable scraps for 24 hours before adding to the bin, which kills any larvae.
6.4 Worm Bin Too Hot
- Likely Cause: Excessive decomposition heat or direct sunlight.
- Fix: Move the bin to a cooler spot (basement or shaded area). Thicken the bedding layer to insulate and regulate temperature.
7. Put Your Finished Compost to Use
- Garden Beds and Flower Pots
- Mix finished compost with potting soil at a 1:3 ratio for container plants or spread a 1–2 inch layer atop garden soil and lightly work it in to nourish vegetables, herbs, and flowers.
- Mulch Around Trees and Shrubs
- Spread compost around the base of trees (2–3 inches deep) but keep it an inch away from trunks to prevent rot.
- Lawn Top-Dressing
- Spread a thin layer (¼–½ inch) over your lawn and gently rake it in. This adds nutrients and improves water retention.
Conclusion
Setting up a kitchen composting system is a simple yet impactful step toward reducing waste and enriching your soil. Whether you choose a small countertop pail, an under-sink bin, or a worm-based vermicomposter, the fundamental principles remain the same: balance greens and browns, maintain moisture and airflow, and transfer contents regularly to an outdoor pile or bin. With minimal investment in supplies and just a few minutes each day, you’ll transform kitchen scraps into a valuable resource for your garden. Soon, you’ll watch your plants thrive on the nutrient-packed compost you created—and feel good about diverting waste from the landfill in the process.Tools
